
7/22/2026 · Goodchoice Team
How to Save WebP as JPG in Chrome (Without an Online Converter)
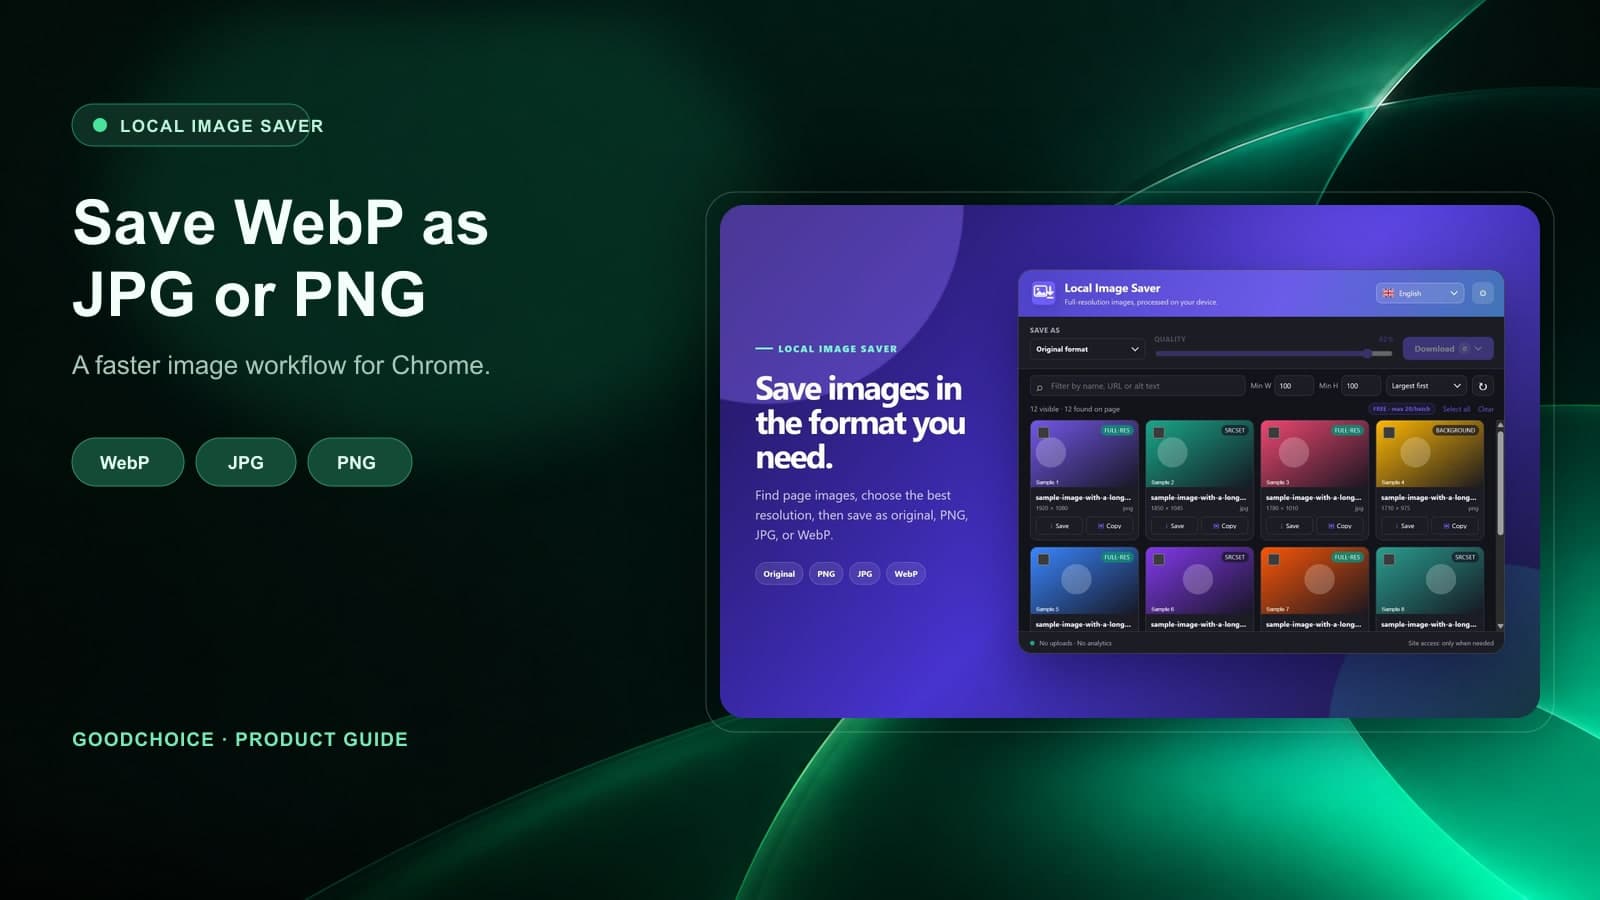
If you need to save WebP as JPG in Chrome, the hard part is usually not clicking Download. The difficult part is getting a file that is right for the next job: the right image candidate, the right dimensions, and the right format. A photo can look perfect in a browser, then become awkward the moment a Word document, legacy editor, marketplace uploader, or client workflow expects a conventional JPG or PNG. Renaming the file extension does not convert the image data, so the result may still fail when another app opens it. This guide explains a repeatable Chrome workflow that replaces guesswork with a clear source-and-format decision.
Why this problem keeps appearing in Chrome
Modern sites commonly serve WebP because it is efficient for delivery. Chrome handles it well, but the format is not always the file you want to keep after downloading. What you see in the browser is not always the file you should keep. Websites optimize assets for layouts, connection speeds, and device screens. Your job after the download may be very different: add an image to a report, make a design reference, upload a product image, build a presentation, or preserve an asset for later review. A deliberate download workflow gives you control over that handoff.
What the ordinary Save Image command misses
The usual workaround is a chain of small tasks: save the WebP, find a converter, upload the file, choose JPG, download it again, and then check whether the result looks acceptable. That is slow for one image and frustrating for a page full of references. It also hides an important distinction: an image can be displayed at one size while another candidate is available to the page. The filename rarely answers that question. Before you commit to a file, look for practical signals such as preview, dimensions, source variation, and whether the image is a decorative element or the content you came to collect.
A browser-first workflow with Local Image Saver
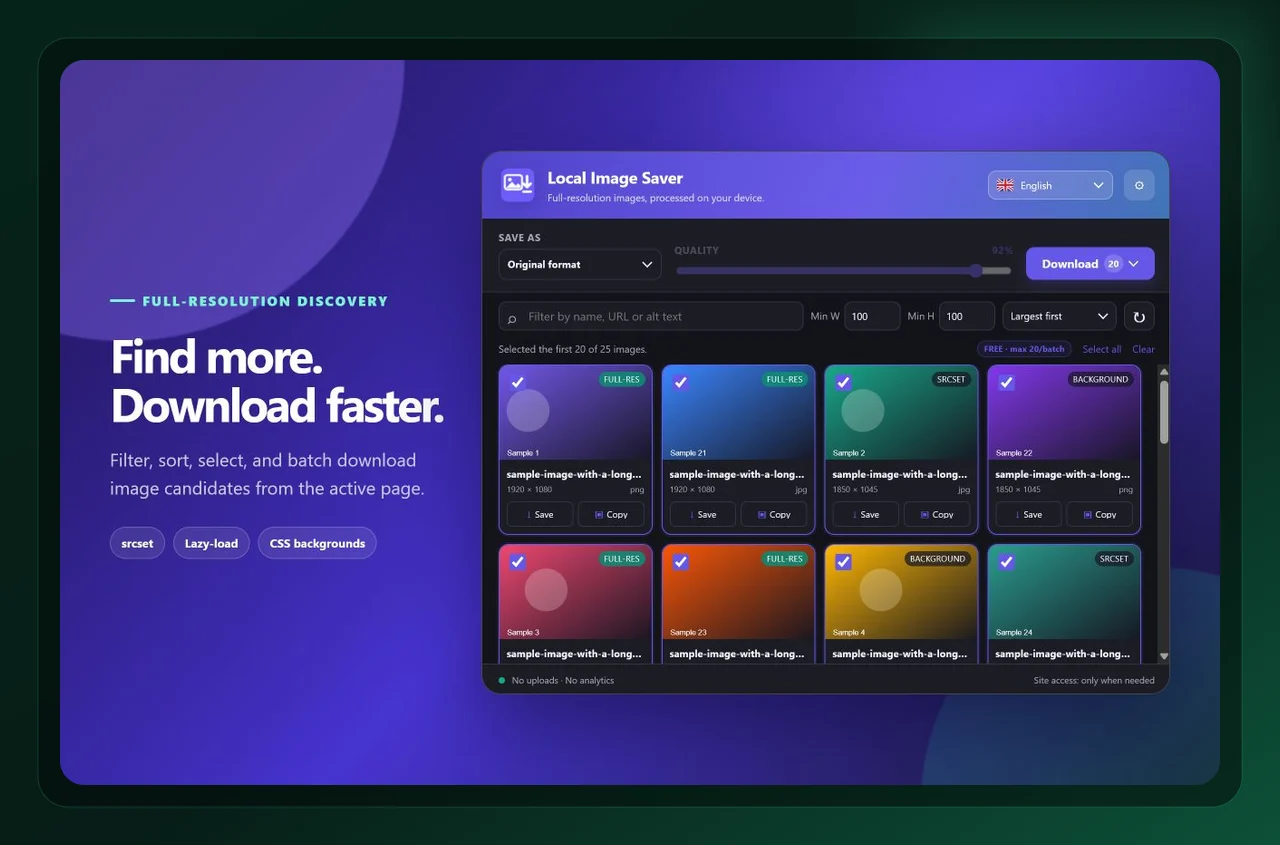
Local Image Saver is built for that decision point. It scans images available in the active page so you can review candidates in one place, then lets you save an original or choose PNG, JPG, or WebP for the selected items. choose JPG when compatibility is the priority, choose PNG when you need a lossless result or transparency, or keep the original when the source format is already right. The conversion happens in the browser workflow, so there is no separate upload step. The key advantage is that discovery, selection, conversion, and download remain in one browser workflow. That reduces context switching and makes it easier to repeat the process across several pages.
Step-by-step: save WebP as JPG in Chrome
1. Start with the page and the outcome you need
Open the page that contains the image and launch Local Image Saver. Let it scan the active page instead of downloading a guess from the browser context menu. Before opening the extension, decide what “success” looks like. Is this a source file for an archive, a transparent asset for a designer, a photo for a CMS, or a collection for a research board? That one decision makes the later format and size choices much easier.
2. Review before you download
Use the visible filename, dimensions, preview, and source information to select the image you actually need. This matters when a site has generated thumbnails beside an original candidate. This is the moment to slow down briefly. A visual preview tells you more than a file extension, and dimensions help distinguish a usable source from a small derivative. If the page has several similar candidates, save one test file and verify it in the tool where it will actually be used.
3. Save a purposeful output
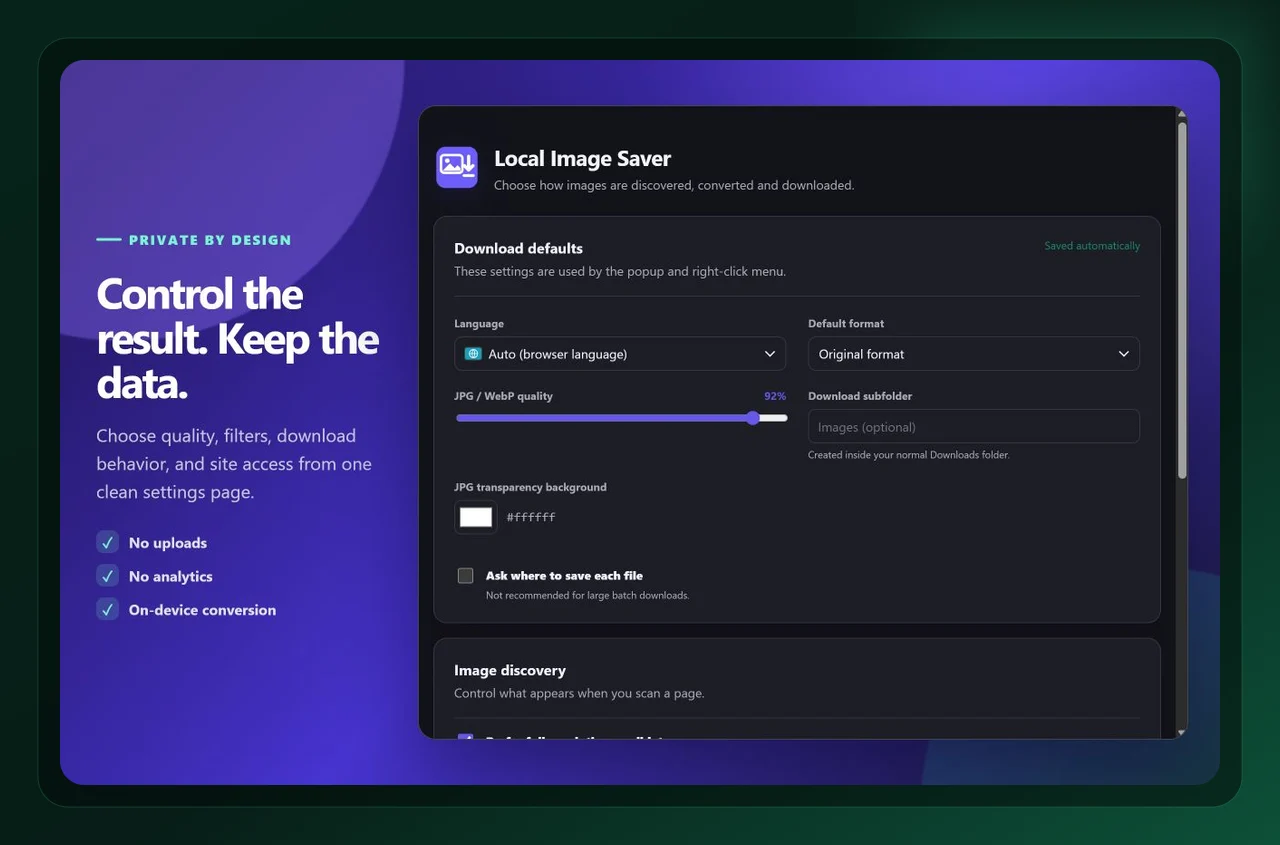
Set the save format to JPG or PNG, choose a sensible quality setting for JPG or WebP, and save only the checked images. Open one downloaded file before processing a large set. Keeping an original and a purpose-built working copy is often the most resilient approach. It protects your source while allowing you to meet a specific upload, compatibility, or presentation requirement without retracing the page later.
Choose format and quality deliberately
If the image has transparent pixels, JPG must flatten them onto a background. For a logo, sticker, product cutout, or UI asset, PNG is normally the safer choice. For a photographic image that must work almost everywhere, JPG is usually the practical destination. Format is a workflow decision, not a cosmetic afterthought. Think about the destination first: compatibility, file size, crisp edges, transparency, and future editing. A carefully chosen output saves time later because a teammate can open it, upload it, or place it without another round of conversion.
A quick quality-control checklist
- Use PNG for transparent graphics, screenshots, and artwork with sharp edges.
- Use JPG for broadly compatible photographs and upload forms that reject WebP.
- Keep the original when you are archiving an asset rather than repurposing it.
- Check dimensions before downloading; a bigger file is not automatically a better source.
- Name the destination folder clearly if you are collecting several versions of the same image.
These checks take less time than repairing a poor download later. They also make a workflow easier to hand to another person: the source is clear, the output is intentional, and the destination folder tells the next person what the files are for.
Frequently asked questions
Can Chrome save a WebP directly as JPG?
Chrome can save the file it receives, but it does not offer a dependable format-choice workflow for every page image. An image tool is useful when you need a deliberate JPG or PNG output instead of whatever format the site served.
Will converting WebP to JPG make an image better?
No conversion can add missing pixels. The goal is compatibility and a predictable workflow. Start with the best available source, then use an appropriate quality setting so the JPG remains useful for its destination.
Do I need to upload images to a website?
Not for this Local Image Saver workflow. The product is designed to process the selected page images on your device, which also avoids sending client references or private research to a third-party converter.
Final takeaway
The practical way to save WebP as JPG in Chrome is to make the source, size, and format choices in one place instead of patching them together after the fact. Local Image Saver helps you do that directly in Chrome. Install Local Image Saver from the Chrome Web Store, or learn more about the product, then use the workflow on a real page before relying on it for a larger collection.

Local Image Saver
Save full-resolution images, convert formats in your browser