
7/22/2026 · Goodchoice Team
How to Save Images as PNG Instead of WebP in Chrome
If you need to save images as PNG instead of WebP in Chrome, the hard part is usually not clicking Download. The difficult part is getting a file that is right for the next job: the right image candidate, the right dimensions, and the right format. The issue is rarely that WebP is “bad.” It is that a downloaded WebP is often the wrong deliverable when you are preparing a transparent logo, a UI reference, a slide, a support document, or an asset that needs predictable lossless handling. This guide explains a repeatable Chrome workflow that replaces guesswork with a clear source-and-format decision.
Why this problem keeps appearing in Chrome
WebP is a web-delivery format, and browsers frequently receive it even when a page began with a different source asset. PNG remains a practical destination for graphics that rely on transparency, crisp edges, text, or repeat editing. What you see in the browser is not always the file you should keep. Websites optimize assets for layouts, connection speeds, and device screens. Your job after the download may be very different: add an image to a report, make a design reference, upload a product image, build a presentation, or preserve an asset for later review. A deliberate download workflow gives you control over that handoff.
What the ordinary Save Image command misses
Taking a screenshot is tempting, but it changes the image dimensions, may introduce browser chrome, and throws away the underlying file. An online converter adds uploads and does not help you identify the right source when several sizes are present. It also hides an important distinction: an image can be displayed at one size while another candidate is available to the page. The filename rarely answers that question. Before you commit to a file, look for practical signals such as preview, dimensions, source variation, and whether the image is a decorative element or the content you came to collect.
A browser-first workflow with Local Image Saver
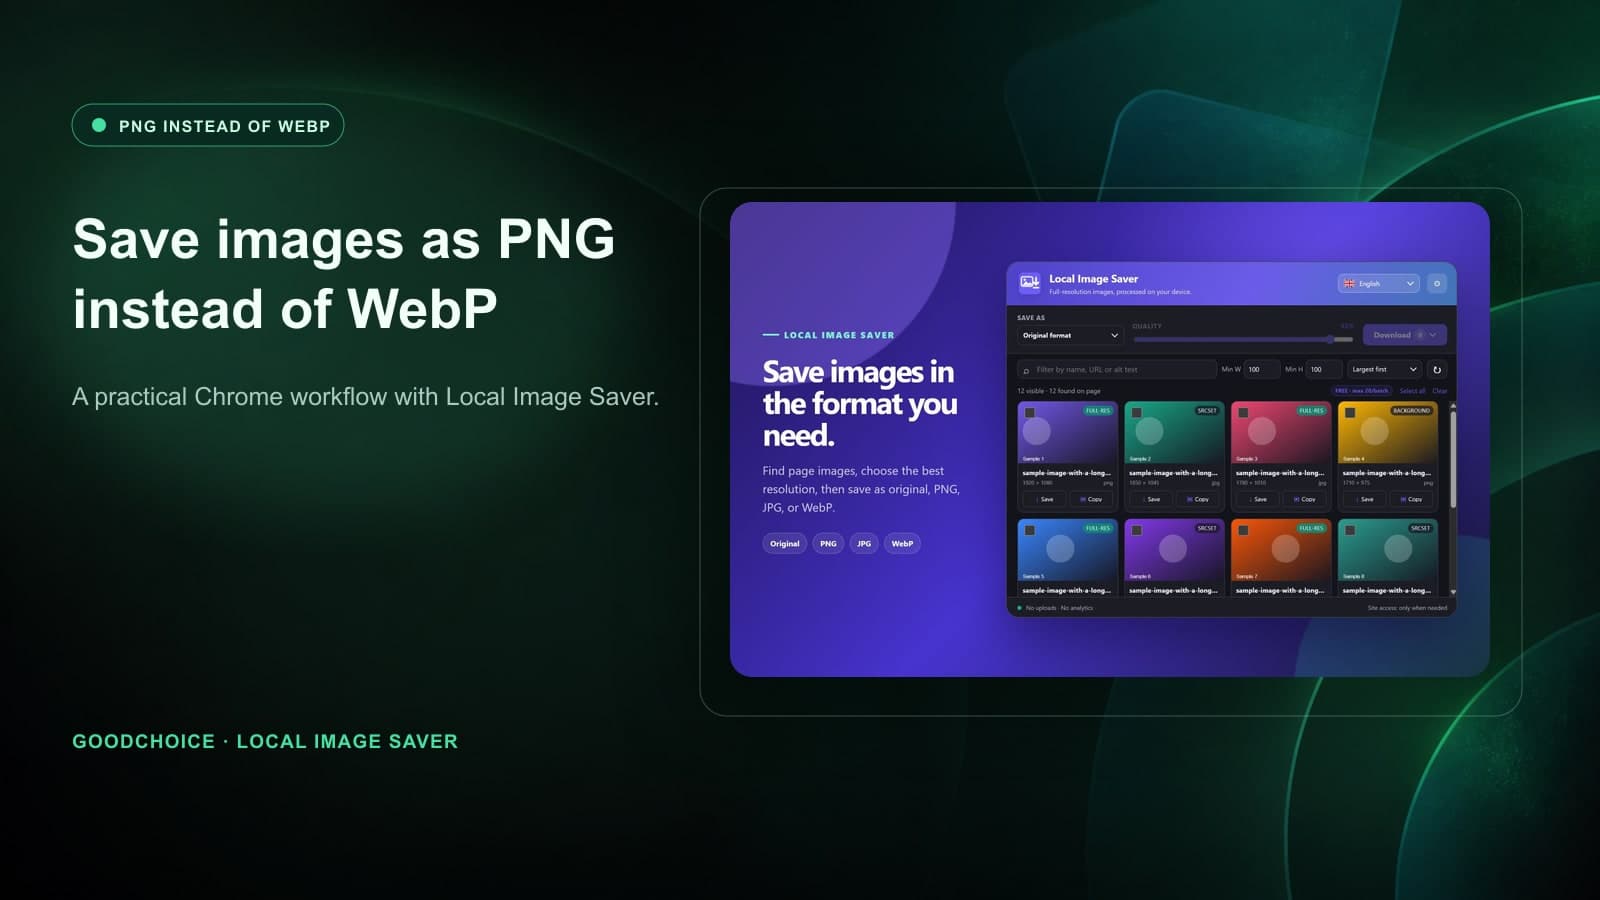
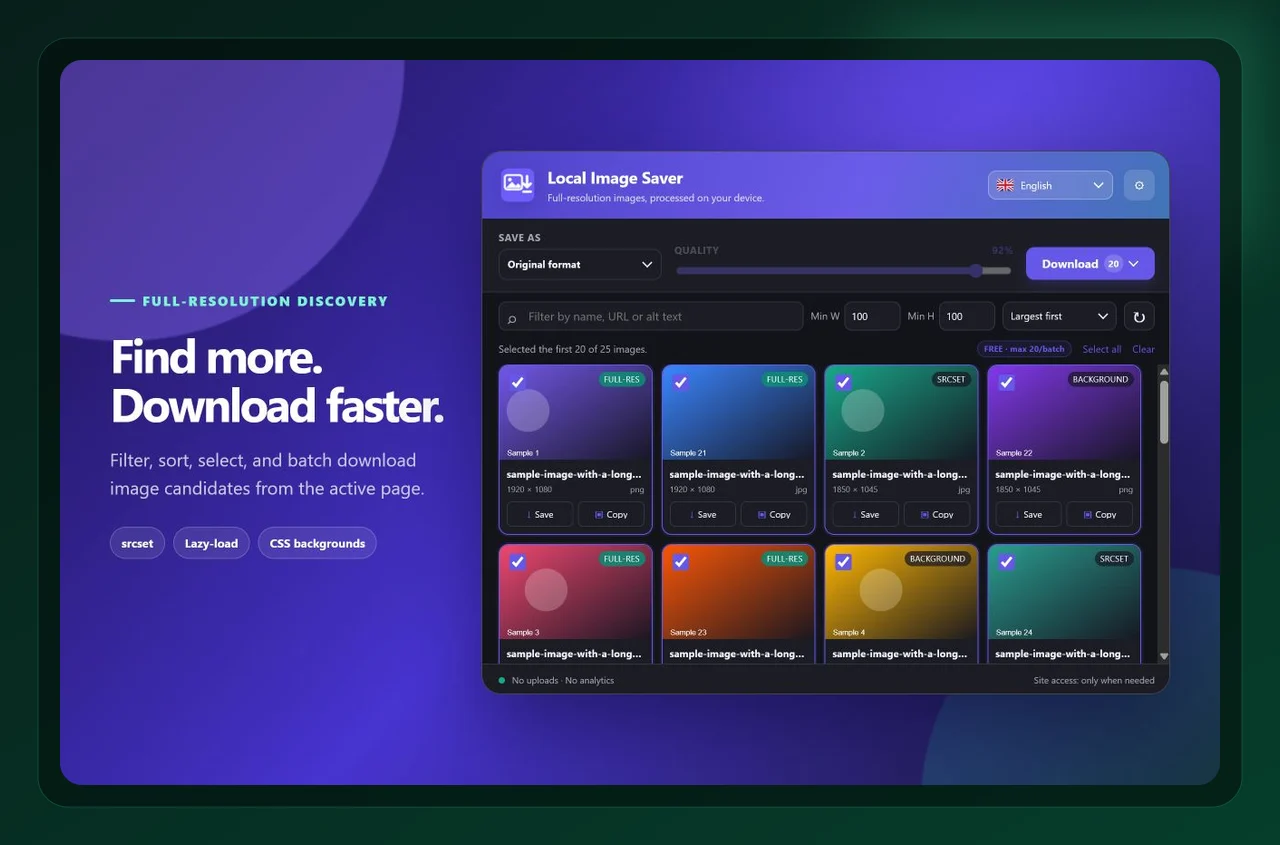
Local Image Saver is built for that decision point. It scans images available in the active page so you can review candidates in one place, then lets you save an original or choose PNG, JPG, or WebP for the selected items. scan the current page, identify the best candidate, and explicitly save it as PNG. This separates the choice of source from the choice of output format, which is exactly what Chrome’s regular save command does not make easy. The key advantage is that discovery, selection, conversion, and download remain in one browser workflow. That reduces context switching and makes it easier to repeat the process across several pages.
Step-by-step: save images as PNG instead of WebP in Chrome
1. Start with the page and the outcome you need
Open the visual page you are researching and start a scan. Do not assume the first thumbnail is the asset you want to preserve. Before opening the extension, decide what “success” looks like. Is this a source file for an archive, a transparent asset for a designer, a photo for a CMS, or a collection for a research board? That one decision makes the later format and size choices much easier.
2. Review before you download
Filter by dimensions if a page contains small icons and large images together, then inspect the preview before selecting an item. This is the moment to slow down briefly. A visual preview tells you more than a file extension, and dimensions help distinguish a usable source from a small derivative. If the page has several similar candidates, save one test file and verify it in the tool where it will actually be used.
3. Save a purposeful output
Choose PNG as the save format and download a single test file. Confirm transparency and dimensions before selecting more images. Keeping an original and a purpose-built working copy is often the most resilient approach. It protects your source while allowing you to meet a specific upload, compatibility, or presentation requirement without retracing the page later.
Choose format and quality deliberately
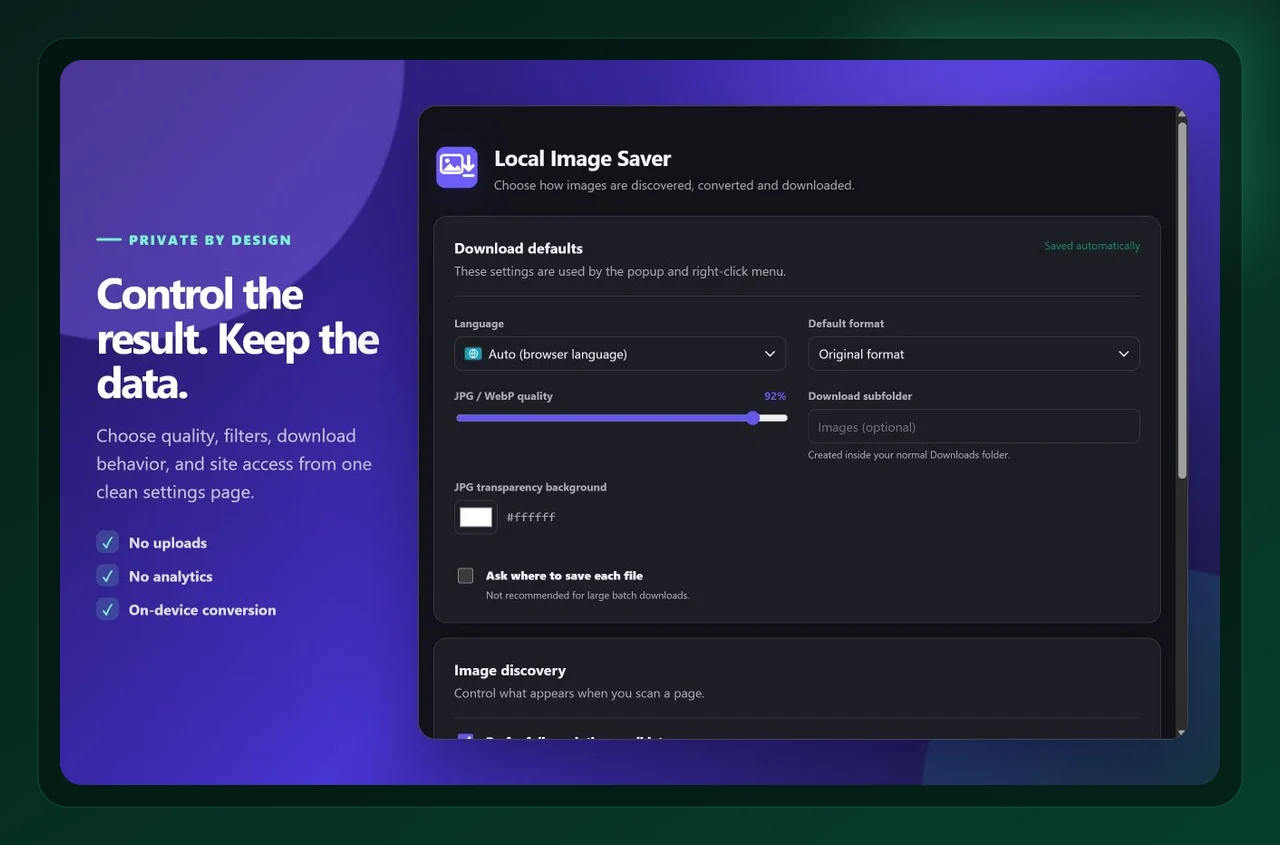
PNG is not automatically the smallest file. It is the deliberate choice when fidelity and transparency matter more than file size. If you only need a web-ready photograph, JPG or WebP can be a more economical output. Format is a workflow decision, not a cosmetic afterthought. Think about the destination first: compatibility, file size, crisp edges, transparency, and future editing. A carefully chosen output saves time later because a teammate can open it, upload it, or place it without another round of conversion.
A quick quality-control checklist
- Prefer PNG for logos, cutouts, screenshots, diagrams, and design references.
- Avoid screenshots when you need the real image file and its native dimensions.
- Use a size filter to remove tiny tracking pixels and UI fragments.
- Keep a separate folder for source assets versus files prepared for delivery.
- Use descriptive alt text if you later publish the image on a web page.
These checks take less time than repairing a poor download later. They also make a workflow easier to hand to another person: the source is clear, the output is intentional, and the destination folder tells the next person what the files are for.
Frequently asked questions
Why does Chrome save images as WebP?
Many sites send WebP to compatible browsers because it can reduce page weight. Chrome saves the resource it receives; that does not always match the format you need after the download.
Can I change .webp to .png by renaming it?
No. Changing the filename only changes the label. The image data still uses the original format, so software that cannot read it will still have a problem.
When should I not use PNG?
For large photographs where transparency is irrelevant, PNG can be unnecessarily heavy. Consider JPG when compatibility and a smaller upload are more important than lossless pixels.
Final takeaway
The practical way to save images as PNG instead of WebP in Chrome is to make the source, size, and format choices in one place instead of patching them together after the fact. Local Image Saver helps you do that directly in Chrome. Install Local Image Saver from the Chrome Web Store, or learn more about the product, then use the workflow on a real page before relying on it for a larger collection.

Local Image Saver
Save full-resolution images, convert formats in your browser